
RC Wallet Creation and Card Application
Complete guide to create your RC Wallet, apply for a card, and pay the issuance fee.
Creating Your RC Wallet
Visit web-wallet.rc-wallet.io and create a new wallet.
Remember to safely store your login credentials.
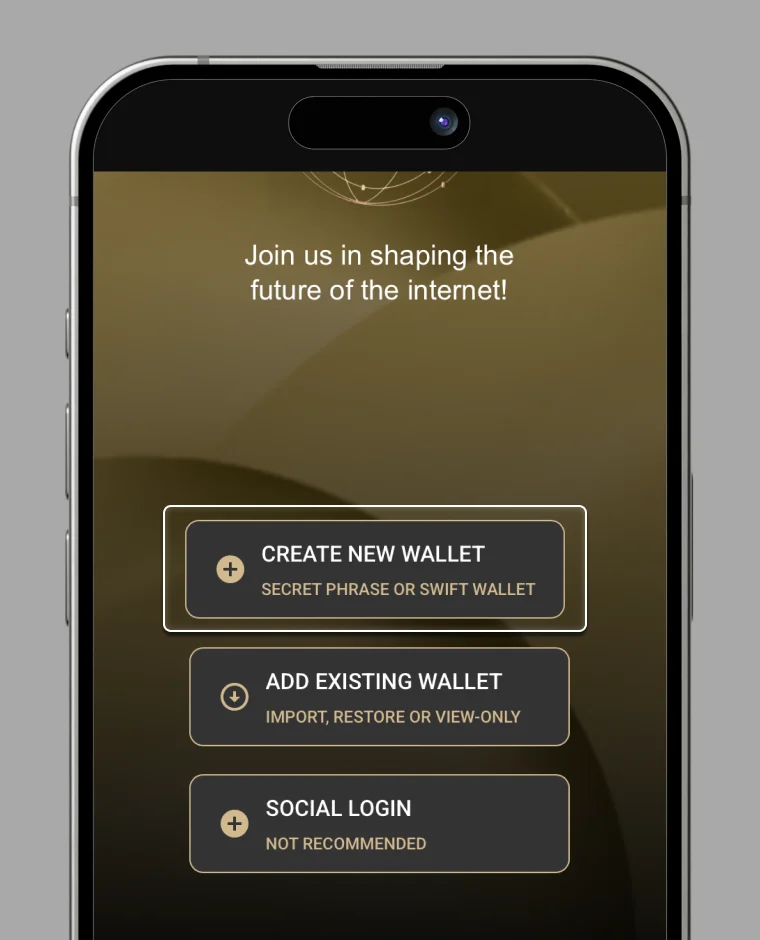
1. Select "CREATE NEW WALLET."
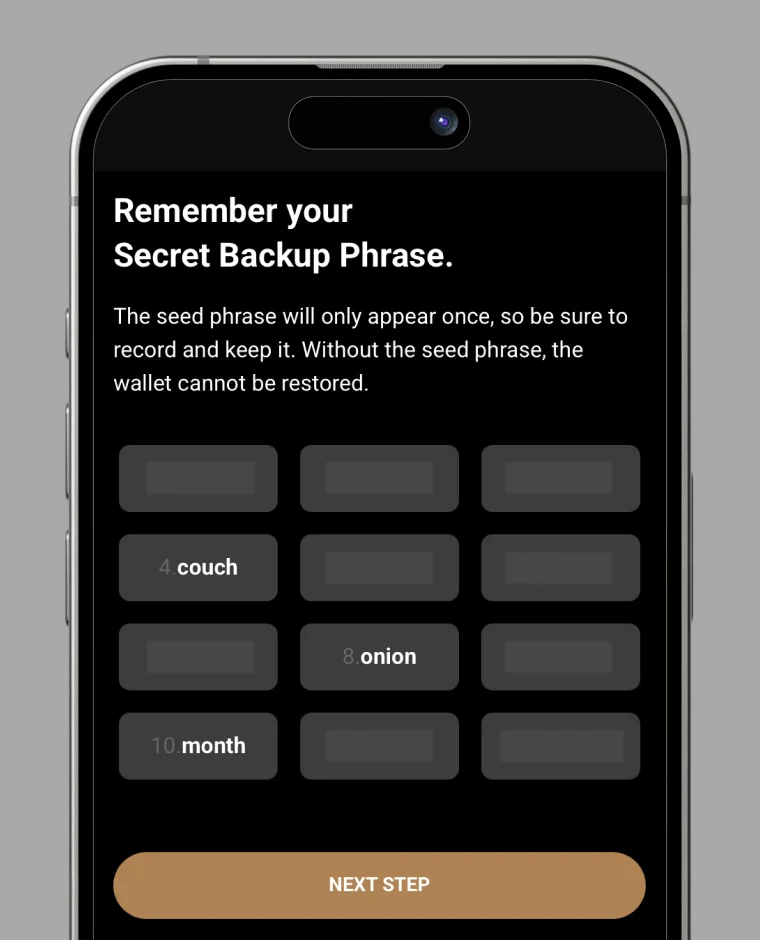
2. Store your mnemonic
You will see a 12-word mnemonic (secret phrase). Write it down or store it in a secure place—this phrase is the only way to access or restore your wallet. Do not share it with anyone.
After you've securely saved the mnemonic, tap "NEXT STEP."
Never share your mnemonic phrase with anyone.
If lost, your wallet cannot be recovered permanently.
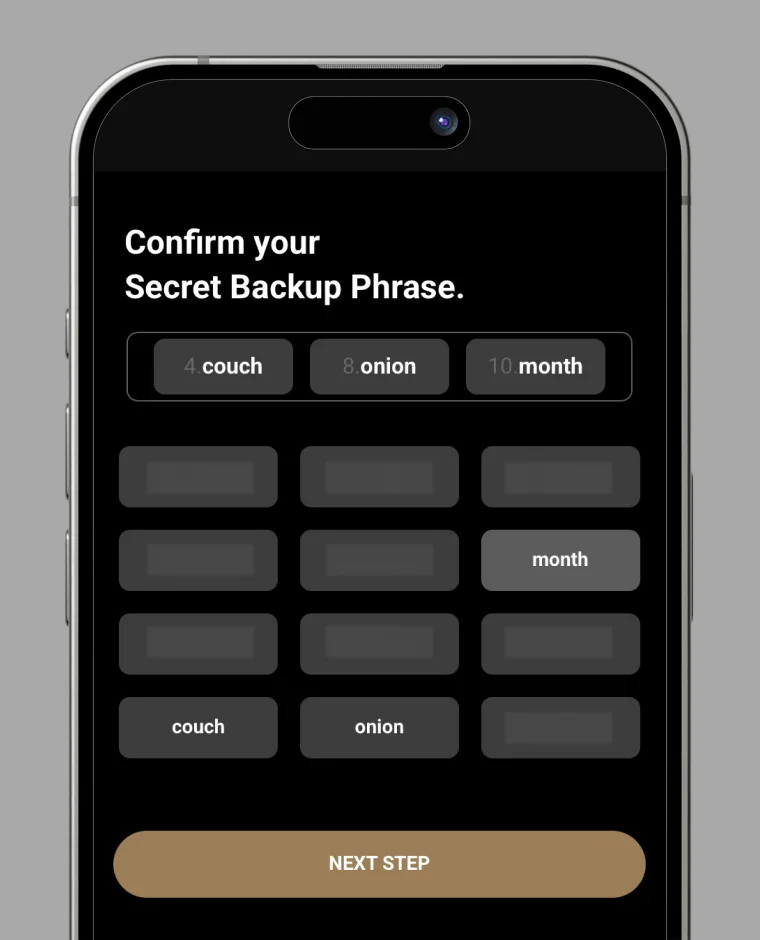
3. Mnemonic confirmation
On the confirmation screen, select the same words in the correct order as shown, then tap "NEXT STEP."
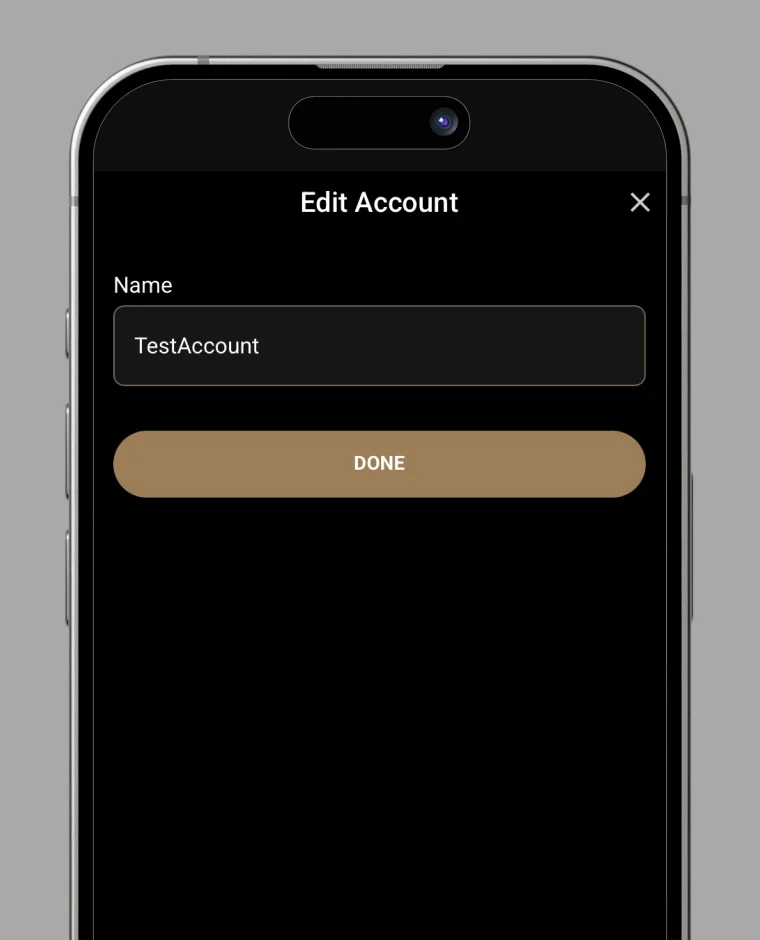
4. Enter the wallet name
Enter a Wallet Name using alphanumeric characters (special characters are allowed) and tap "NEXT STEP." (You can rename your wallet at any time.)
Your RC Wallet is now successfully created!
Card Application
1. Tap "Create a Card" on the home screen.
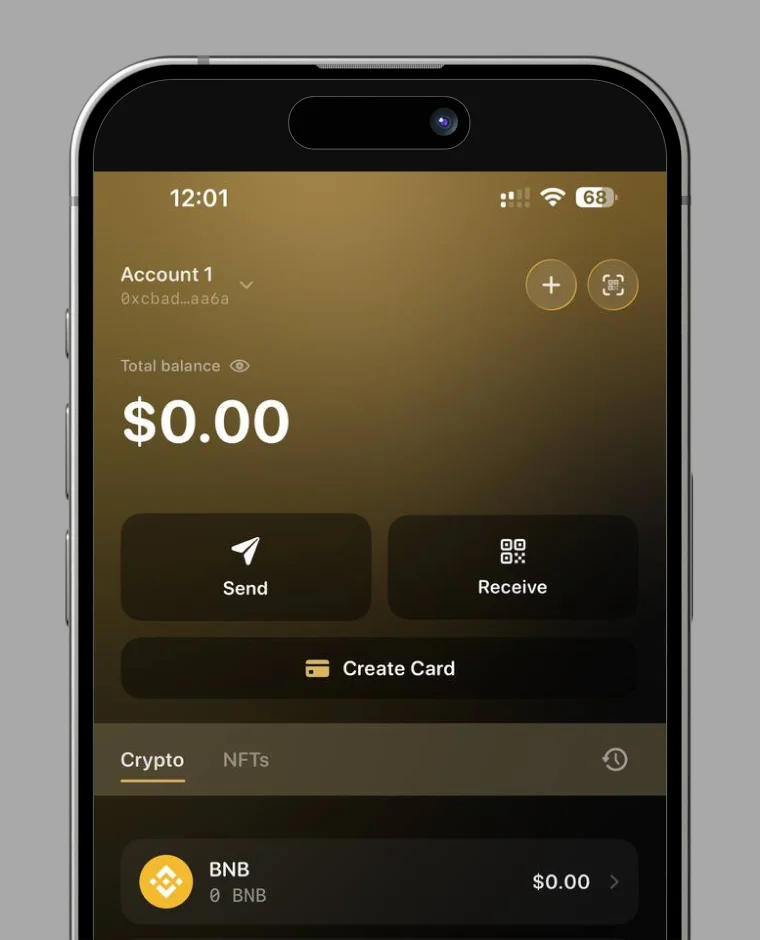
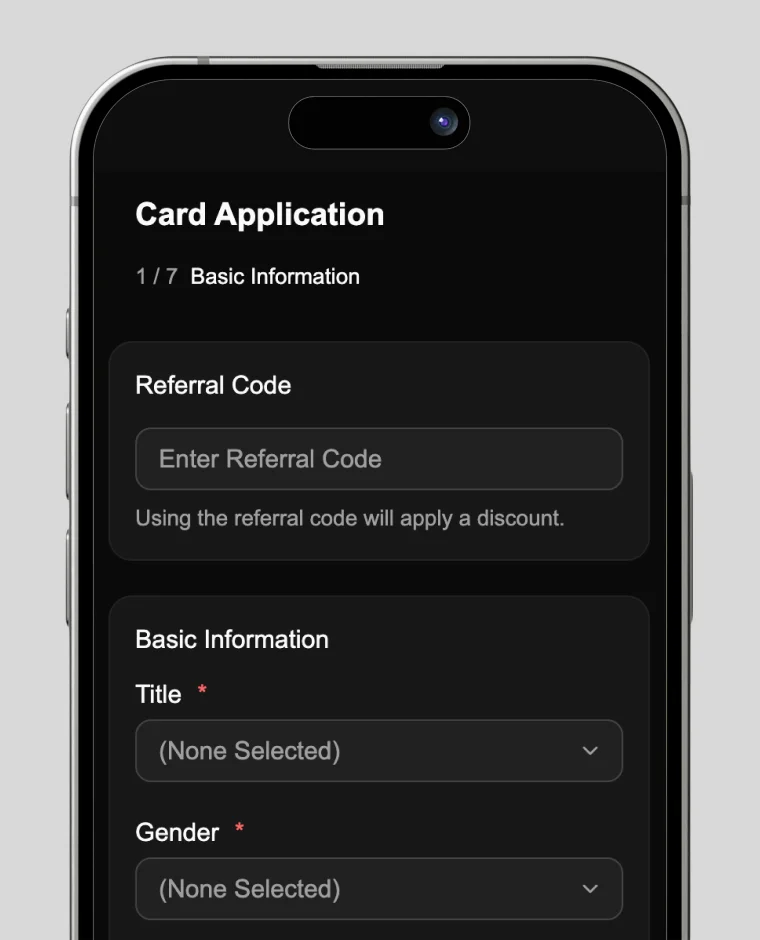
2. Enter Basic Information
Enter your referral code (optional), title, gender, and full name.
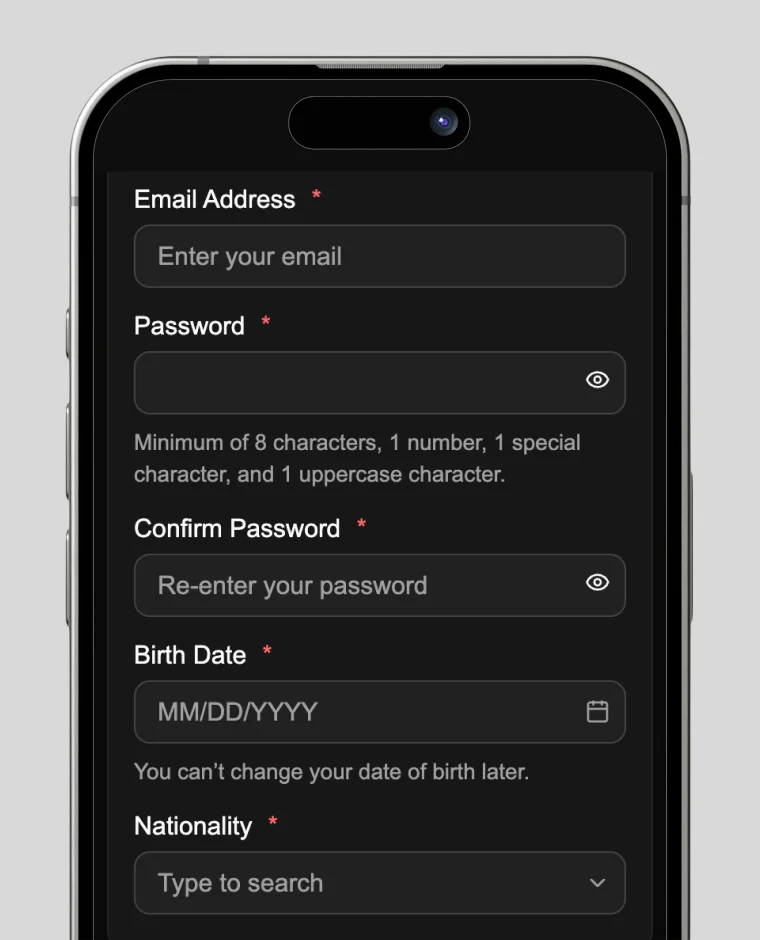
Enter your email address, password, date of birth, and nationality.
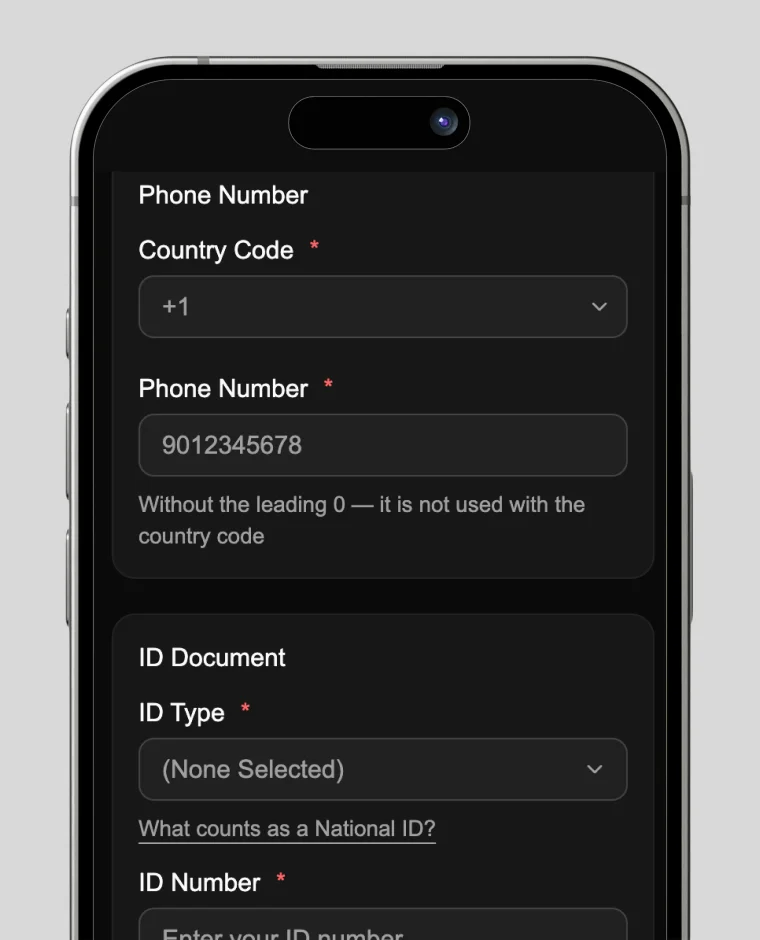
Enter your phone number and ID document.
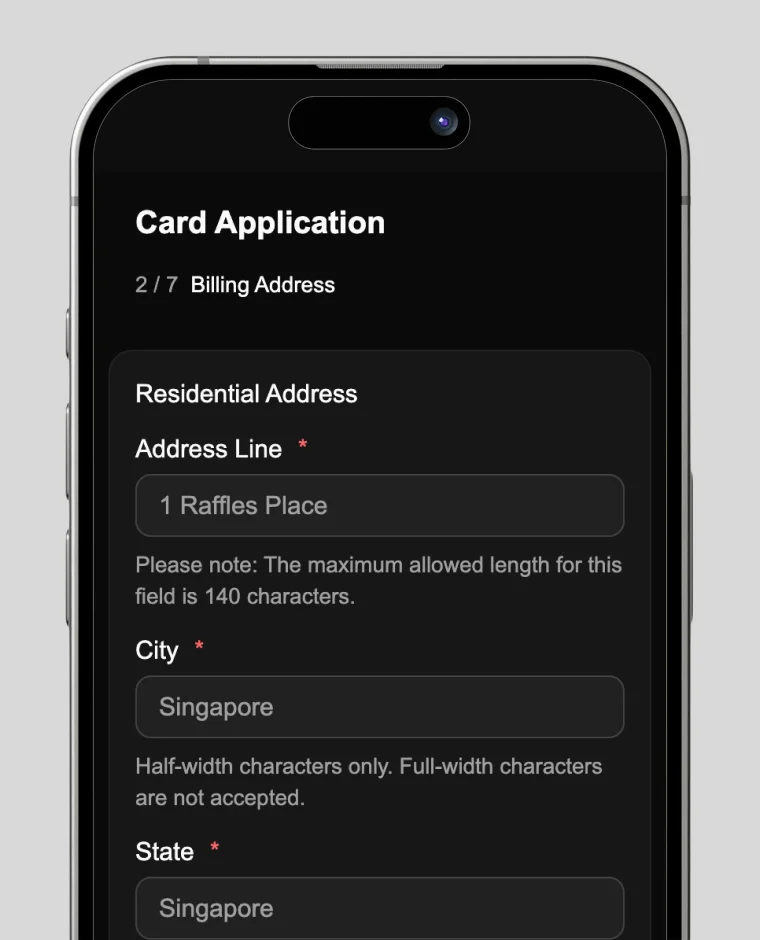
3. Register Address & Upload Proof
Enter your residential address.
If your billing address is the same, check the box to copy it automatically.
To ship to a different address, enter that in the billing address field.
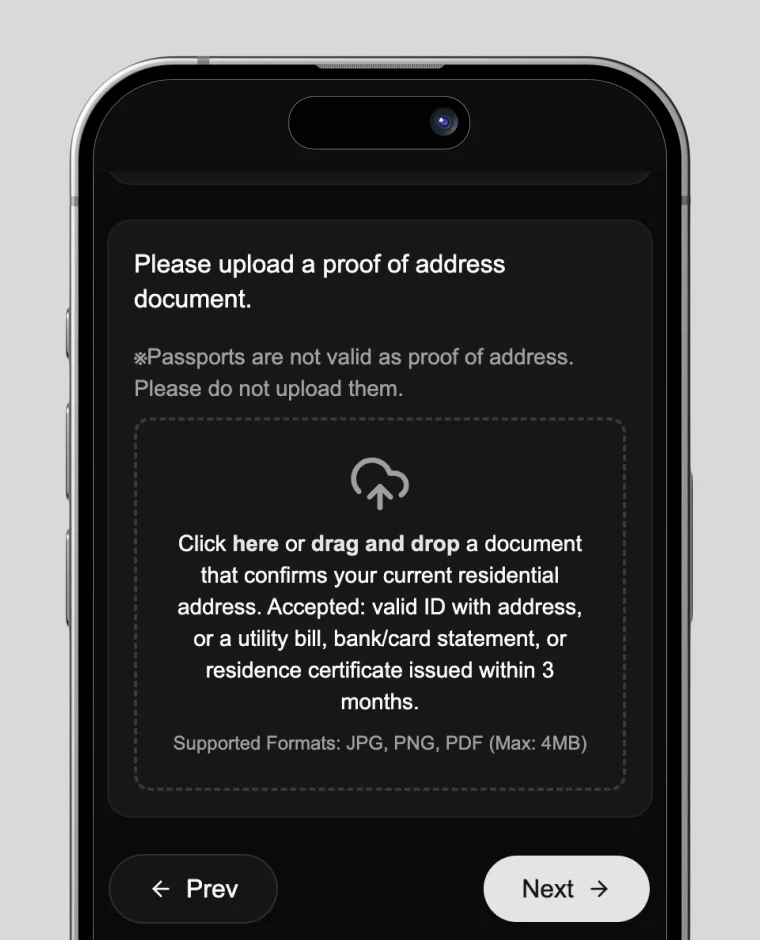
Upload your driver's license or My Number card, or
a proof-of-address document dated within the last three months:
- Utility bill (electricity, water, gas)
- Bank statement or card statement
- Tax notice or official government letter
- Rental agreement or rent receipt
- Resident registration certificate
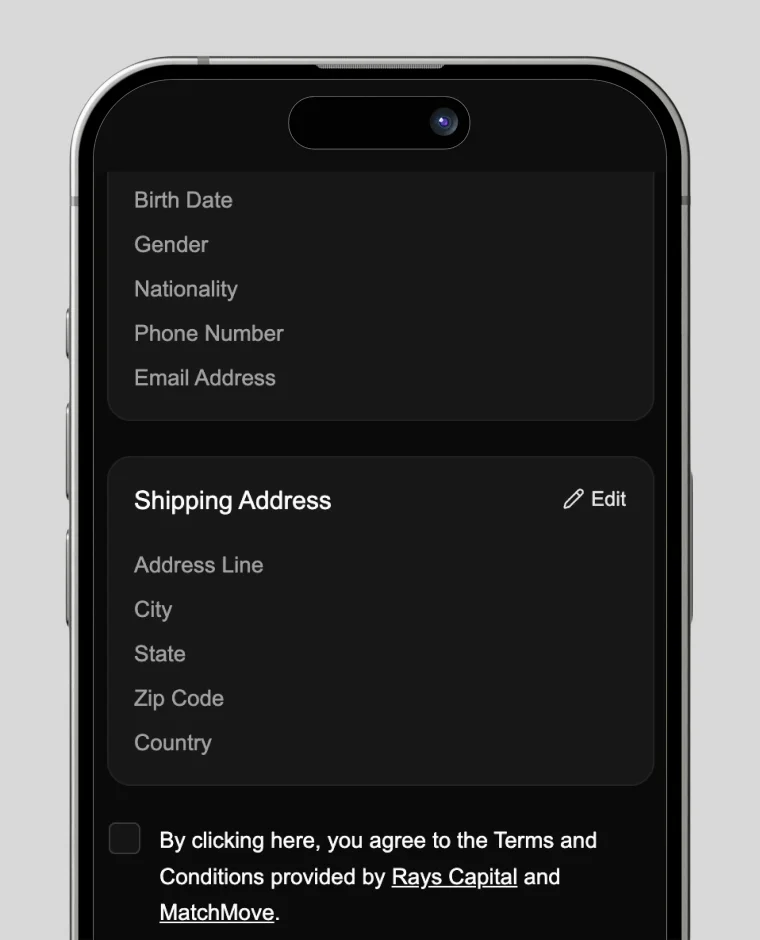
4. Confirm Delivery Address & Agree to Terms
Review your basic information and confirm the delivery address.
Check the boxes to agree to the Rays Capital and MatchMove Terms of Service and Privacy Policy.
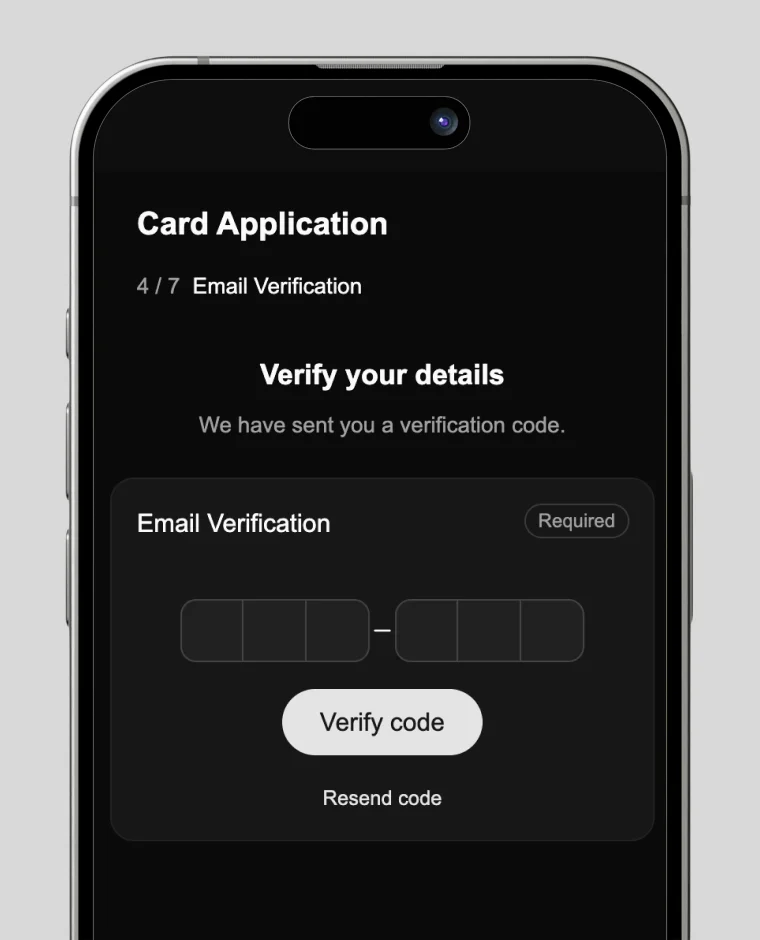
5. Verify Email Address
Tap "Send OTP" to receive a one-time password by email.
Enter the OTP you receive and tap "Verify OTP."
6. Complete KYC Verification
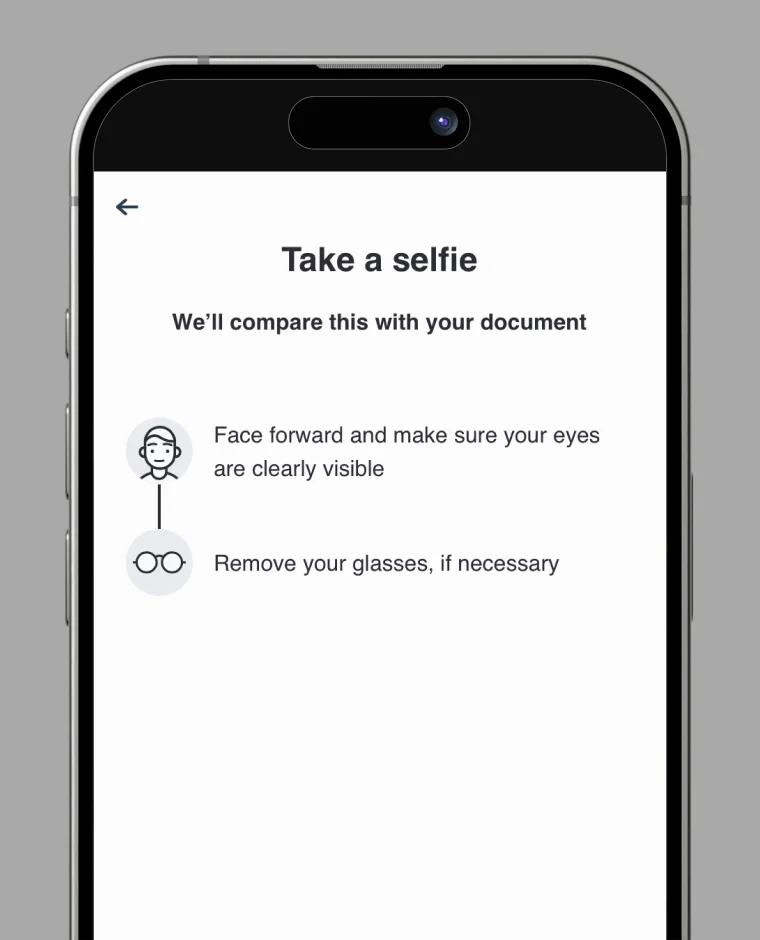
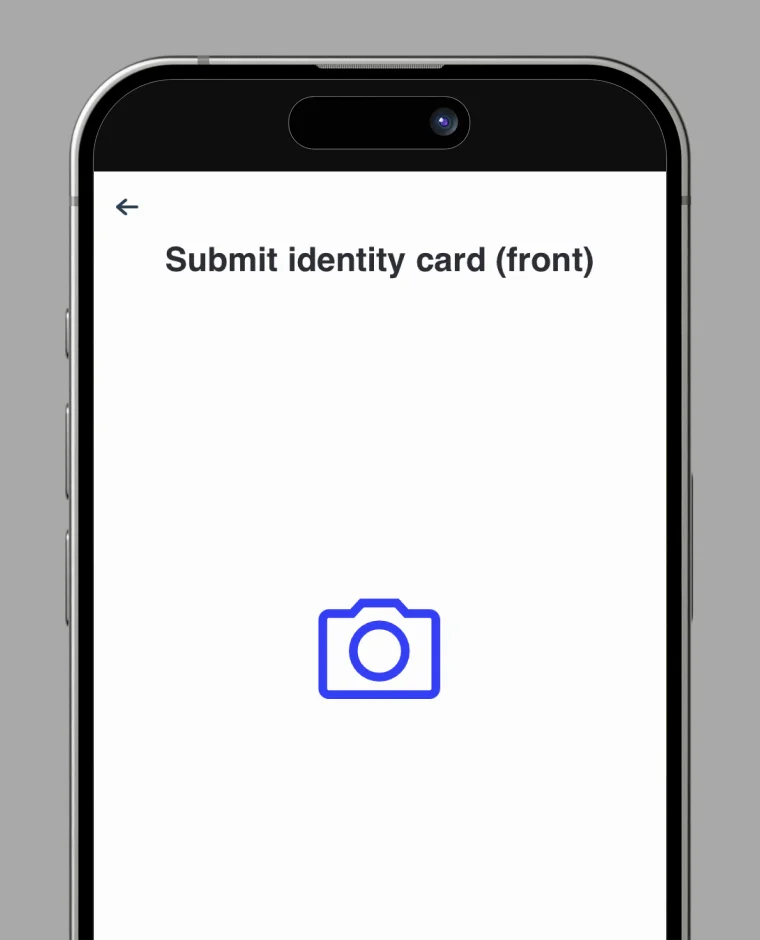
Tap "Start KYC", then in the new window select "Start Verification." Follow the prompts to take and upload a selfie and photos of your ID's front and back.
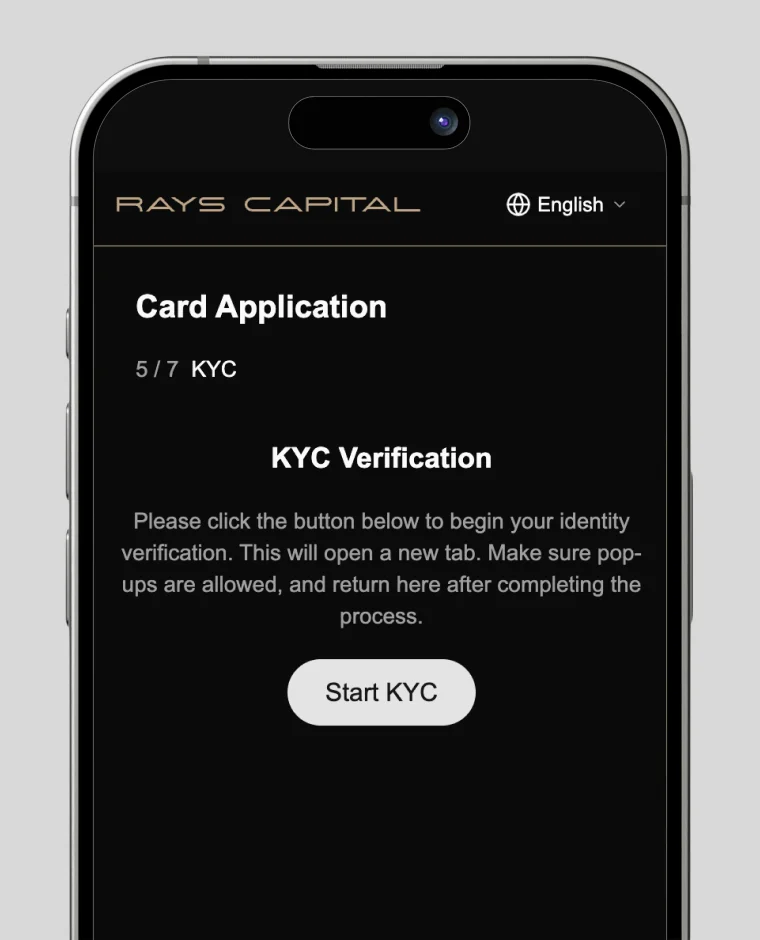
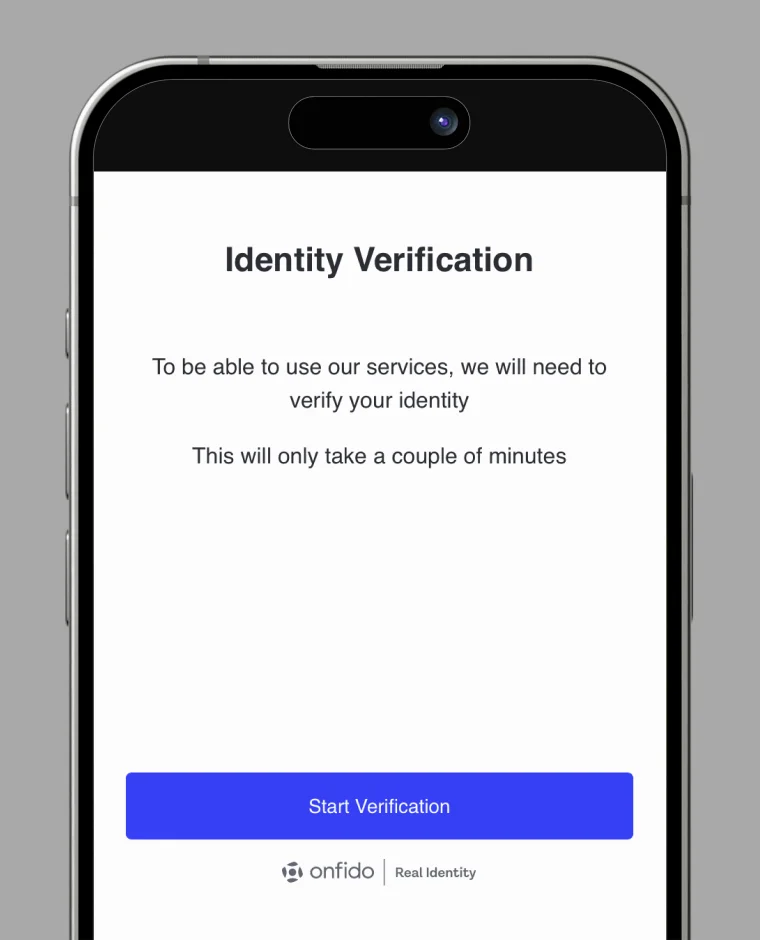
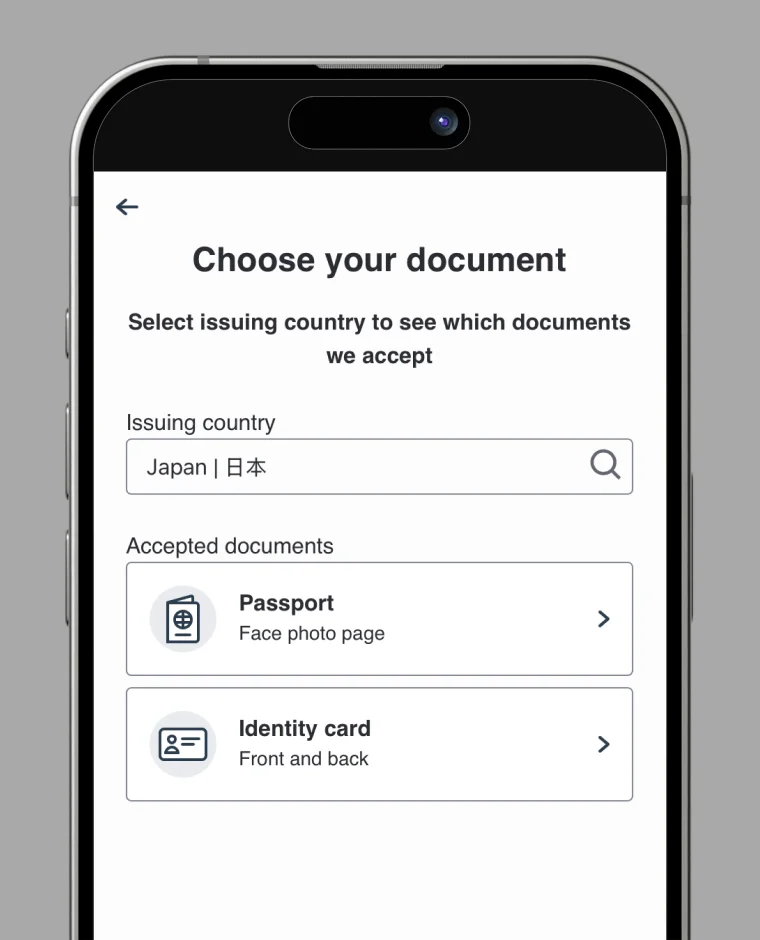
Be sure to select the same document type (e.g., passport, ID card, driver's license) that you entered during Step 1.
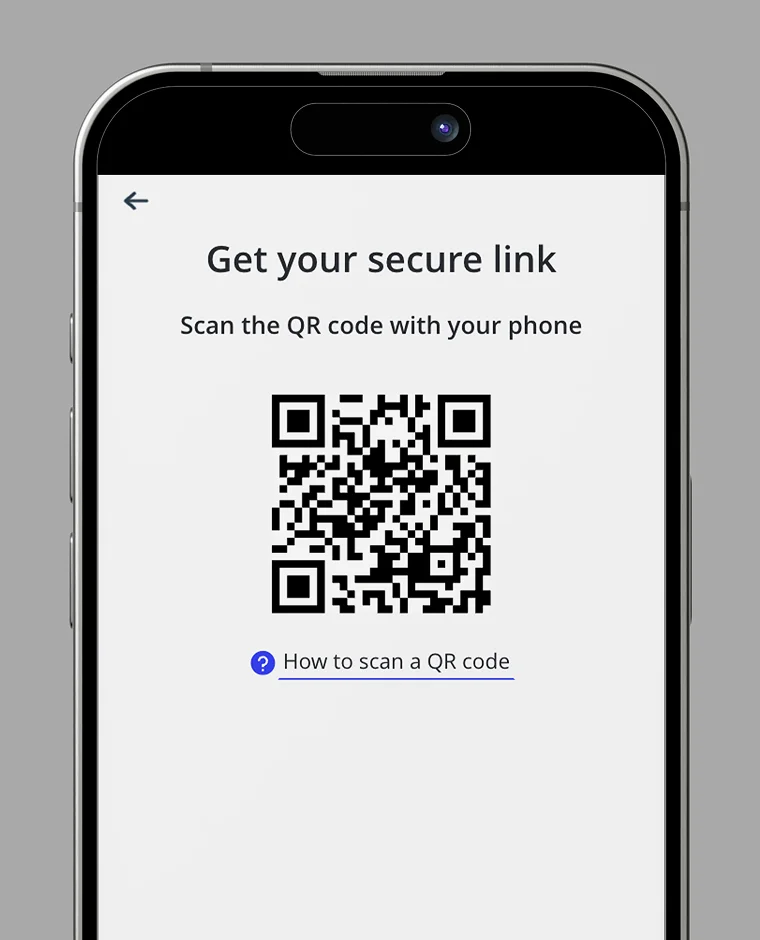
Scan the QR to KYC on phone
Take selfie and upload the ID
Passport is only front
ID will need front and back
Complete KYC
How to Pay the Card Issuance Fee
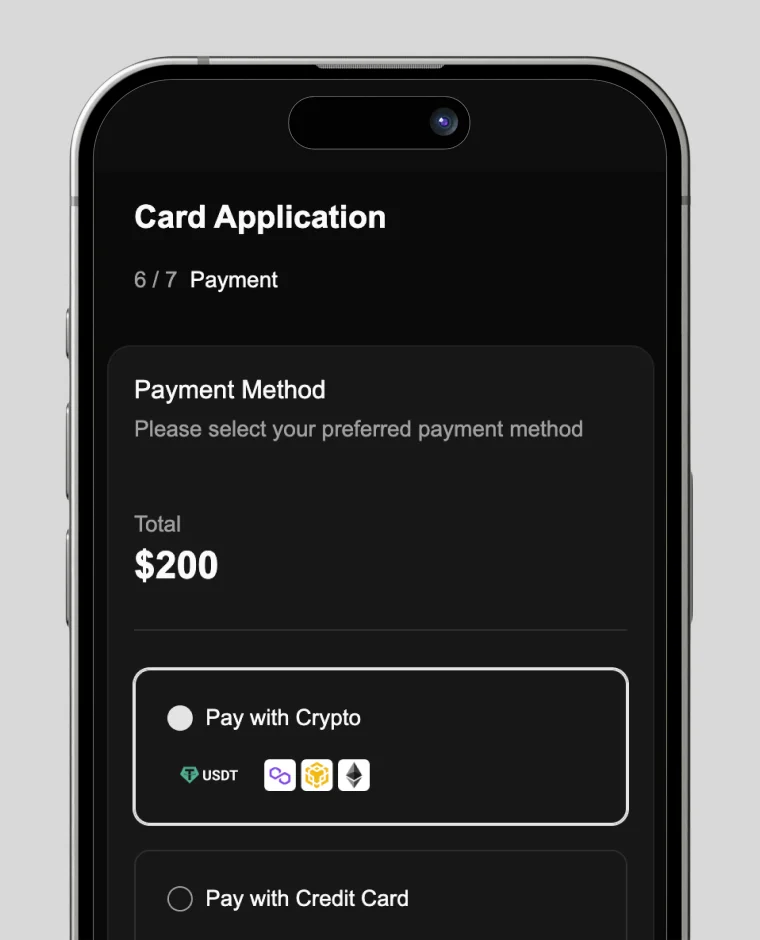
1. On the payment screen, check the box for "Pay with cryptocurrency."
Tip: If you accidentally close the page, log back into your card account, go to "Apply New Card", and complete the payment process again.
2. Fill in the Required Payment Information
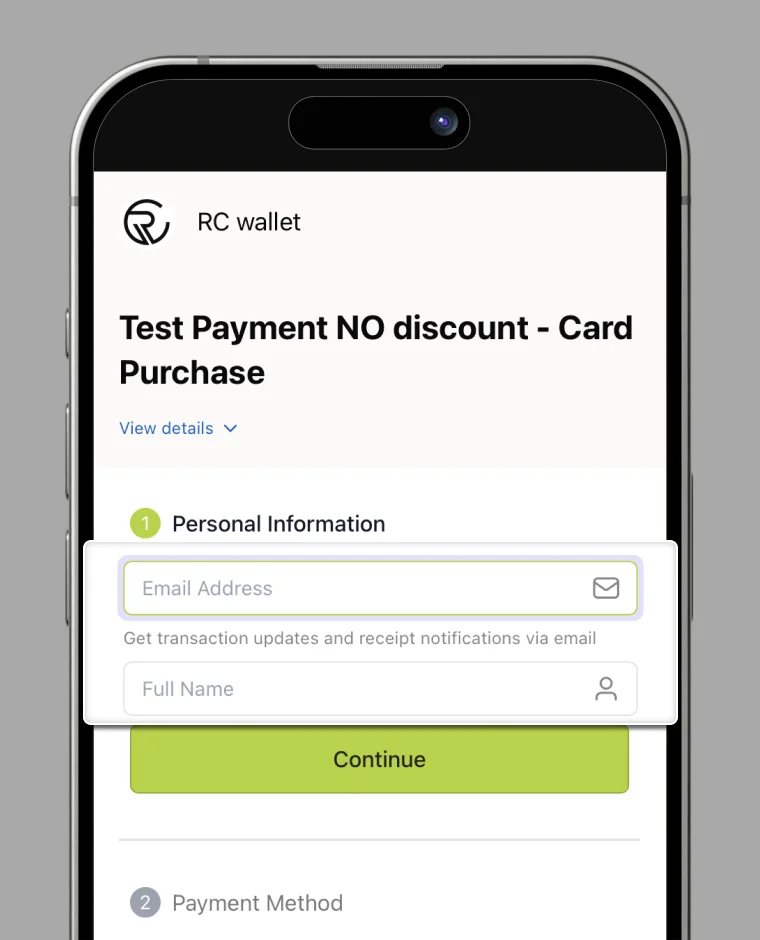
① Personal Information
- Email Address: Enter your active email address.
- You will receive the payment receipt and transaction updates here.
- Full Name: Enter your full name exactly as it appears on your card application.
After confirming your input, tap "Continue" to proceed to the ② step.
3. Select Your Payment Method
② Payment Method
- Choose "Wallet Transfer" to pay from your existing RC Wallet balance.
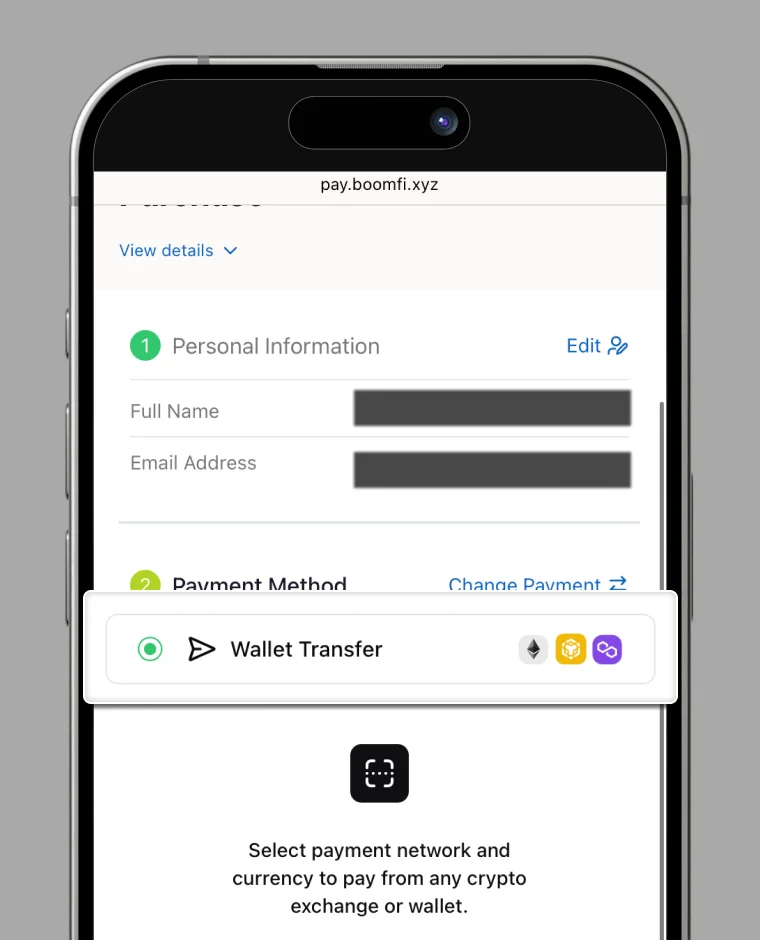
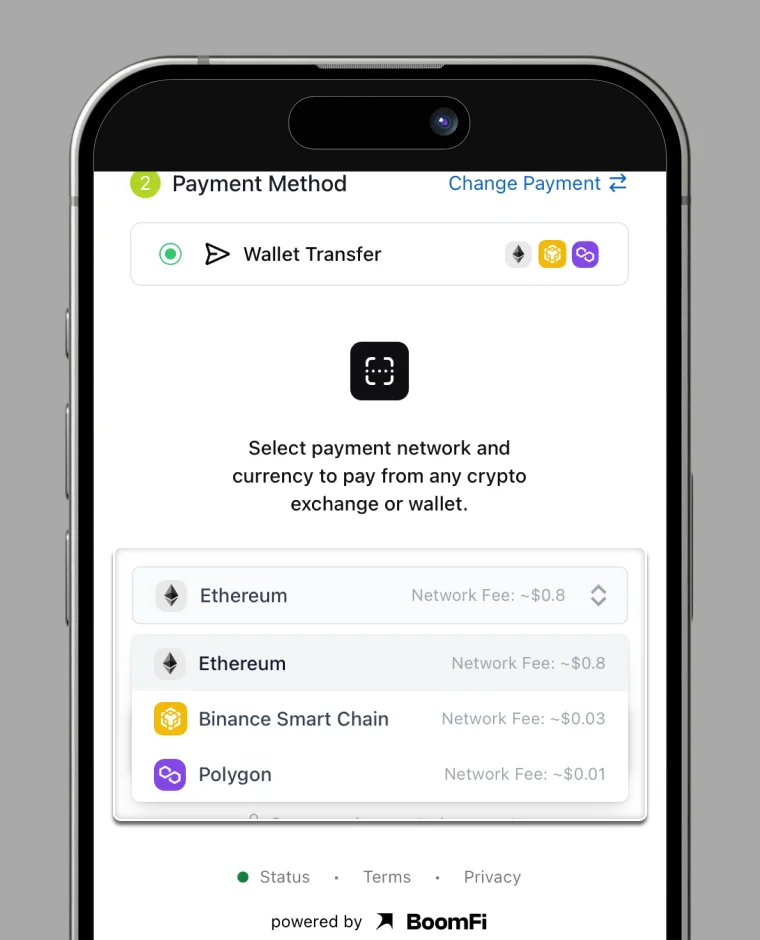
4. Select Your Network
- Choose your preferred blockchain network (e.g., Ethereum, Polygon, BSC, etc.).
- A network fee will be added to the payment amount—this varies depending on network congestion.
Example: Select Ethereum, then tap "Reveal Payment Details" to view the next step.
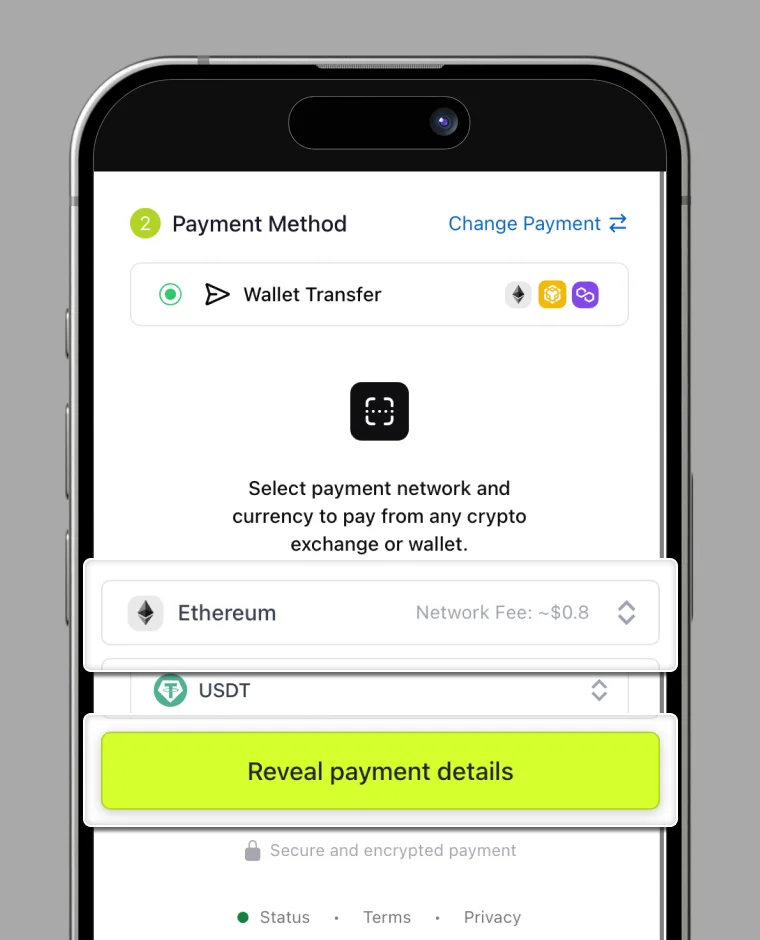
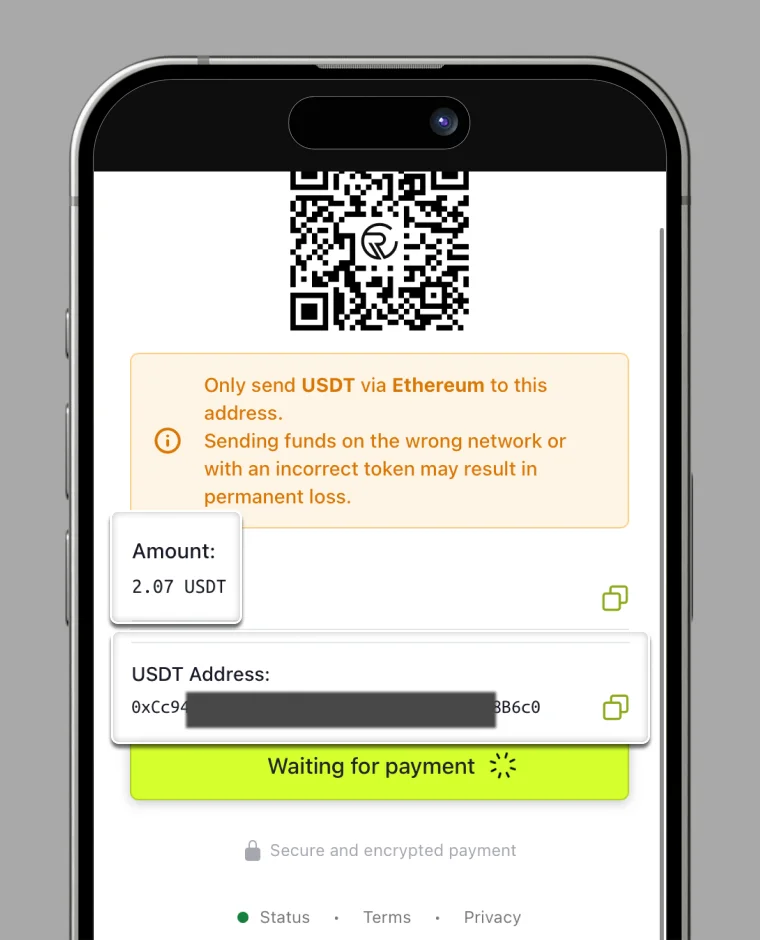
5. Review Payment Details
- Amount: Total amount including network fee.
- USDT Address: The BoomFi wallet address to which you will send the funds.
If copying info: Tap the copy icon next to the Amount and USDT Address to save them.
If sending immediately: Keep this screen open while you complete the transaction from RC Wallet.
6. Send Funds from RC Wallet
- Open or log in to your RC Wallet.
- Select the same network (e.g., Ethereum) that you chose for payment.
- Tap "Send."
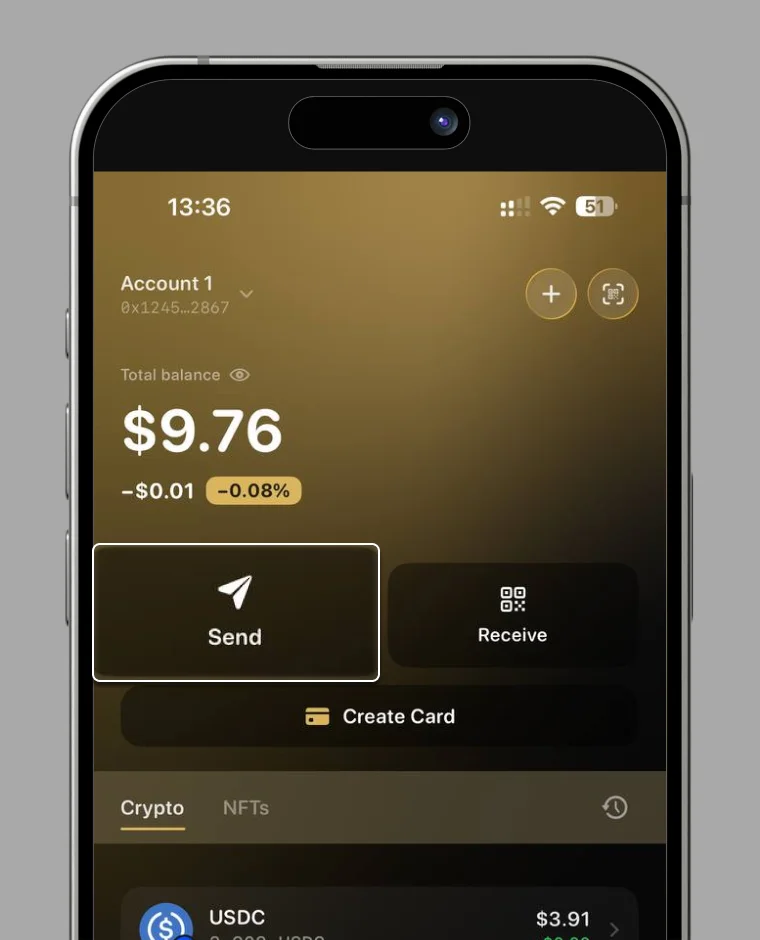
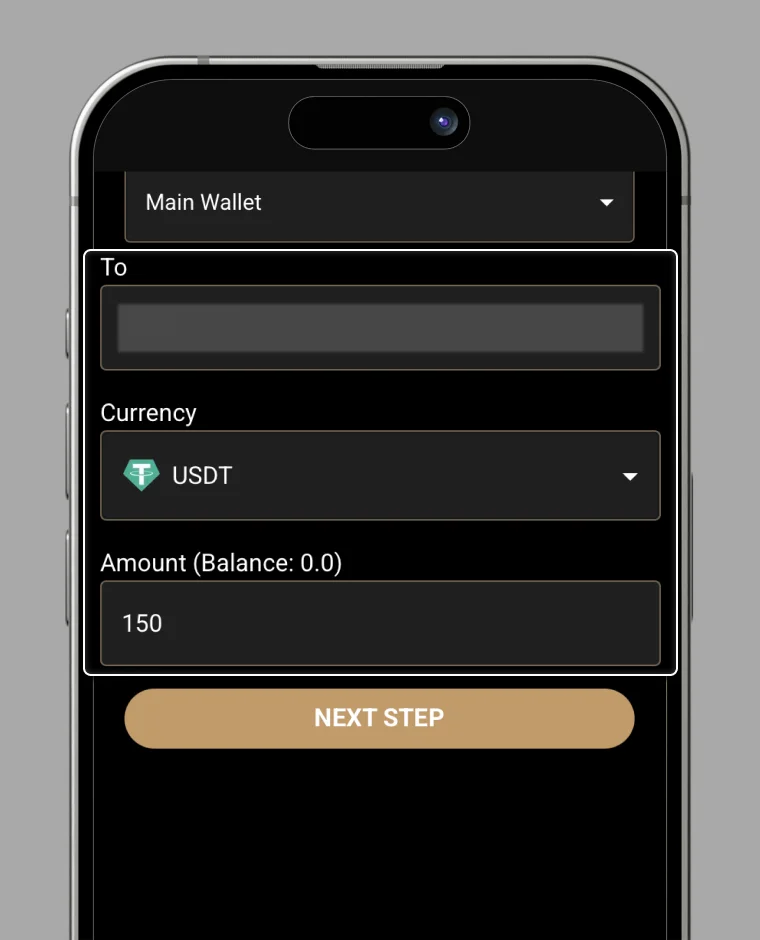
7. Enter Transfer Details
- To: Paste the BoomFi USDT address copied from Step 5).
- Currency: Select USDT.
- Amount: Paste the exact amount from Step 5).
After verifying the details, tap "NEXT."
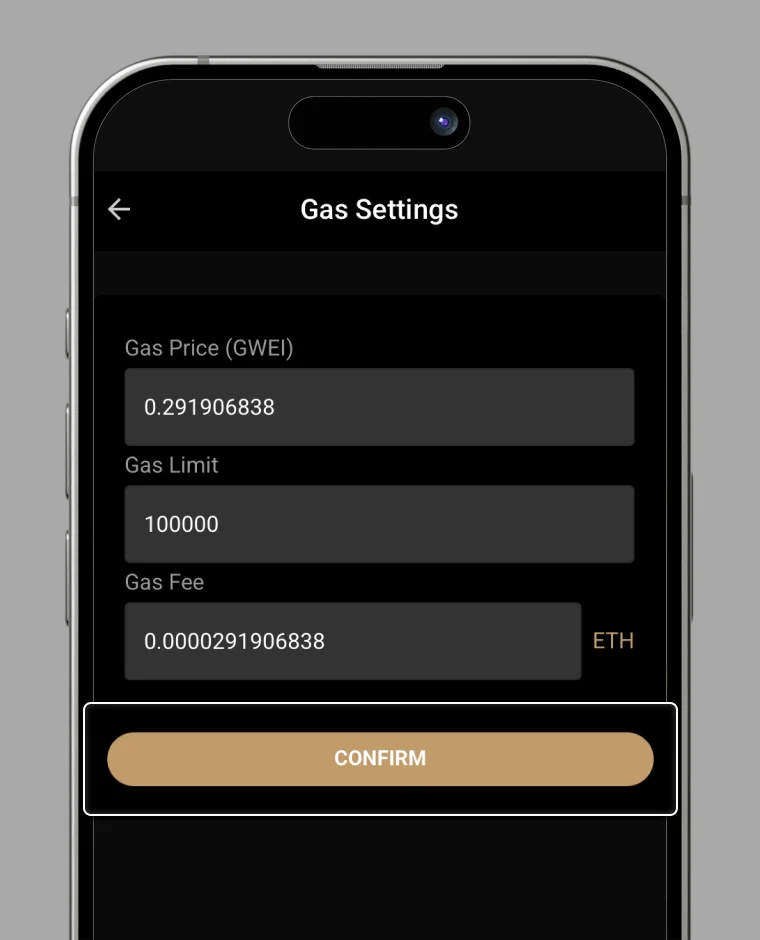
8. Check Gas Fee Settings
- Review the estimated Gas Fee.
- Tap "CONFIRM" to proceed.
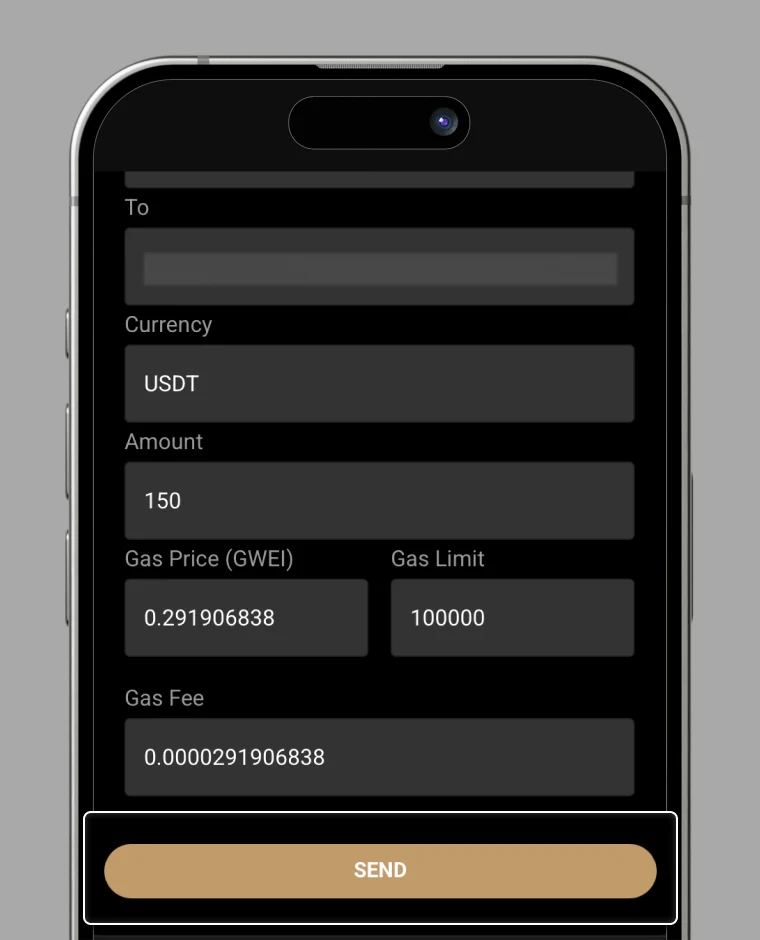
9. Final Confirmation & Send
- Double-check all transaction details.
- Tap "SEND" to complete the transfer.
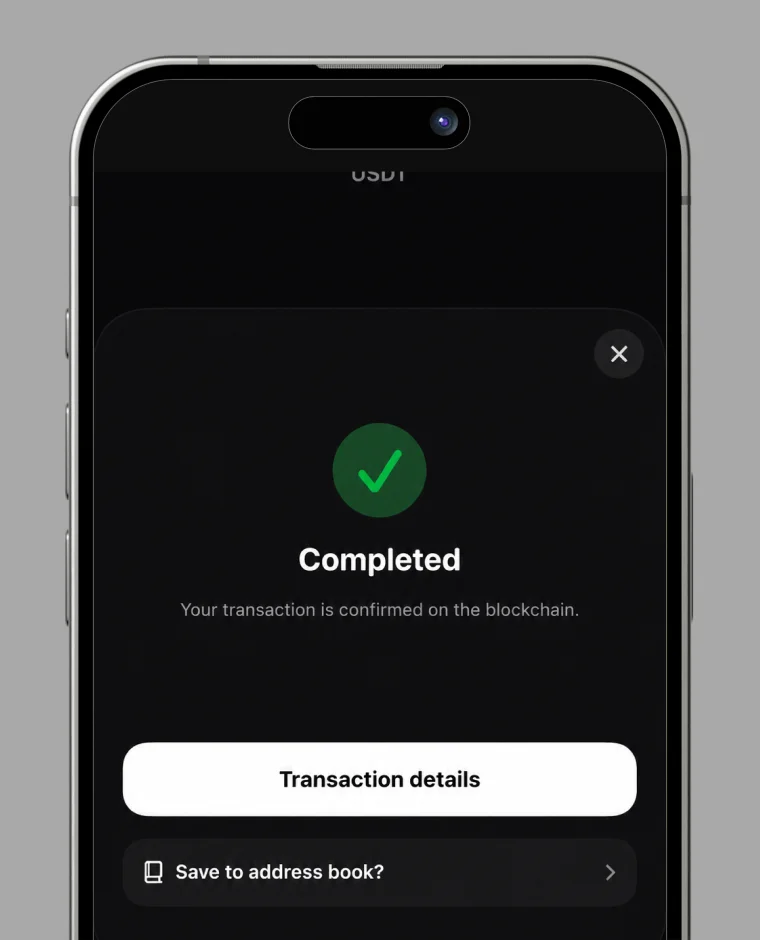
10. Payment Complete!
Once the transaction is complete, tap "Back to Home Page" to return to the RC Wallet HP.
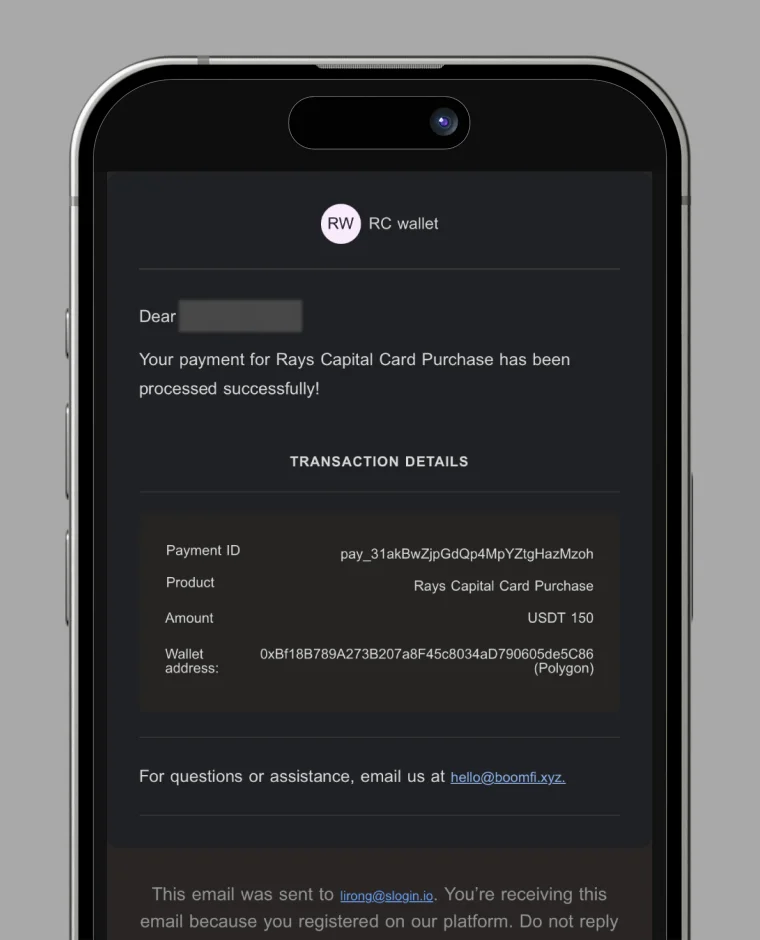
11. Email Confirmation from BoomFi
- You will receive a confirmation email from BoomFi.
- Sender: BoomFi
- Subject: RC Wallet Payment Succeeded
If you don't see the email in your inbox, check your Spam or Junk Mail folder.
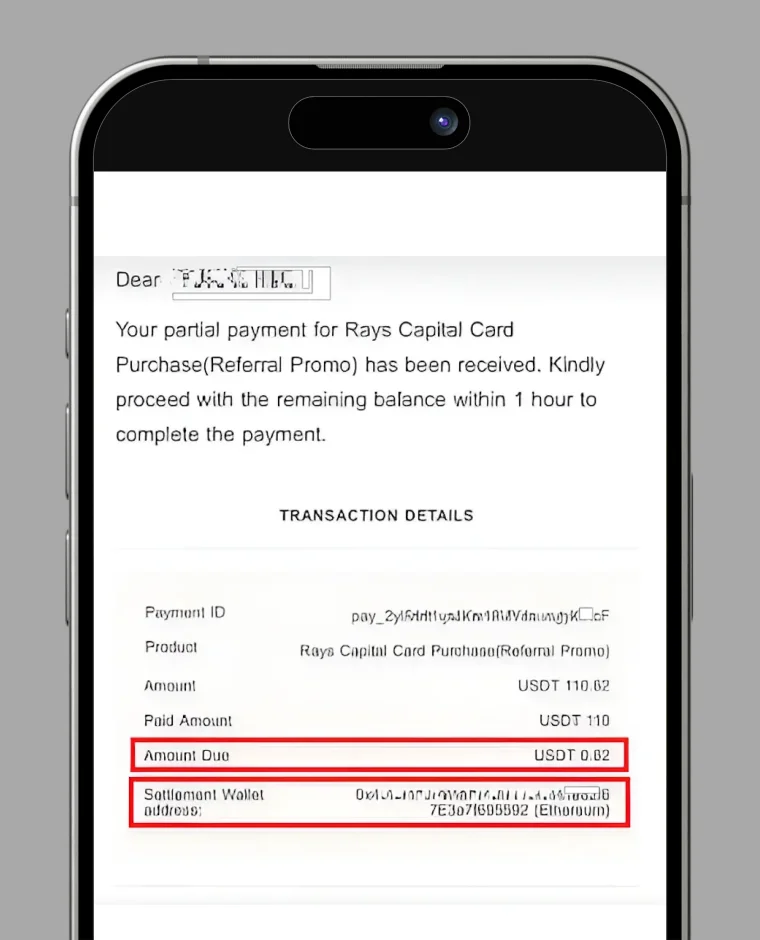
If the amount you sent is insufficient, you will receive another email from BoomFi.
- It will contain the outstanding amount (Amount Due) and the Settlement Wallet Address.
- Please send the remaining amount within 1 hour to complete your payment.
Notes
- Keep your mnemonic phrase secure and never share it with anyone
- Complete KYC verification accurately to avoid delays
- Ensure you have sufficient USDT balance and gas fees for payment
- Contact support if you encounter any issues during the process